Like many people, I originally installed Kali Linux on a Virtual Machine installed on Windows. After awhile I grew sick of how slow the set up made my computer. I switched to dual booth and eventually ended up completely deleting my windows and replacing it with Kali. The only problem was, since Kali is of course specifically designed for penetration testing only, it was lacking in the everyday programs and applications one needs to use it as a primary OS. After some experimentation with different programs, the following instructions will enable you to install everything you need to use Kali as your day to day operating system. Note I still run everything in sudo to avoid screwing up my root account. Ready? Let's begin.
Step 1: Run the Following Commands to Install Applications
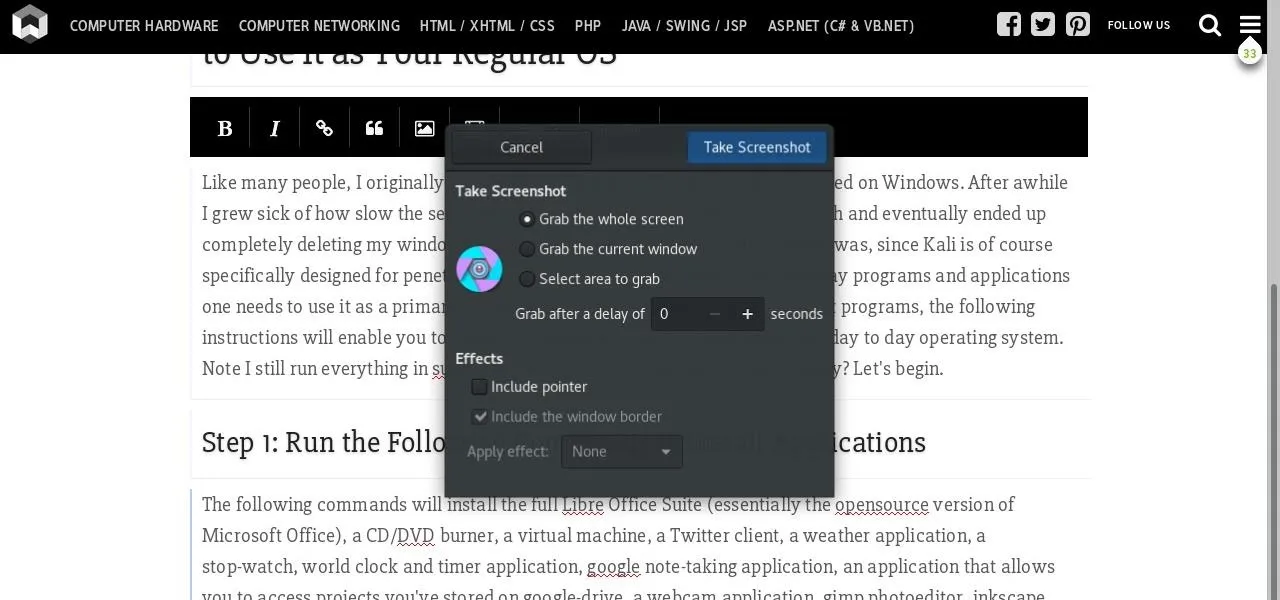
The following commands will install the full Libre Office Suite (essentially the opensource version of Microsoft Office), a CD/DVD burner, a virtual machine, a Twitter client, a weather application, a stop-watch, world clock and timer application, google note-taking application, an application that allows you to access projects you've stored on google-drive, a webcam application, gimp photoeditor, inkscape, gmail, a calendar application, a book reader application, task bar, a USB writer, a few games and (in my opinion) one of the best GTK and icon themes, Xenlism and a few other goodies. Here is a screen shot of what my computer looks like:

sudo apt-get install gnome-documents
sudo apt-get install gnome-gmail
sudo apt-get install gnome-calander
sudo apt-get install icedove
sudo apt-get install gnome-games
sudo apt-get install inkscape
sudo apt-get install virtualbox
sudo apt-get install corebird
sudo apt-get install gnome-shell-extensions-gpaste (cut and paste application)
sudo apt-get install gnome-shell-extension-mediaplayer
sudo apt-get install gnome-shell-extension-taskbar
sudo apt-get install gnome-shell-extension-weather
sudo apt-get install gnome-music
sudo apt-get install gnome-multi-writer
sudo apt-get install icedove
sudo apt-get install gnome-maps
sudo apt-get install xenlism-artwork-wallpapers xenlism-minimalism-theme xenlism-wildfire-icon-theme
*_You don't have to run these individually. You can lump them all in with one sudo apt-get install
Remember tabbing is your friend. All you have to do is type in the first few letters (ex apt-get install gnome) hit tab and a list of available options will appear. *_
I hope you enjoyed this 'how-to'. If you think I've missed any applications or would like to share what your favorites are, please do so in the comments!


Comments
No Comments Exist
Be the first, drop a comment!